Employee Printing from Oxy-Issued Computers
If you are an employee of the College (faculty or staff) or are a student who works on an office desktop for your campus job, the printing software "Papercut" will be pre-installed on your computer.
Where can I view my printers?
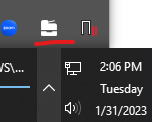
On Windows find the Papercut printer icon in the Taskbar:

On Mac find the Papercut printer icon in the Menu Bar:

Not seeing a specific printer you'd like to use?
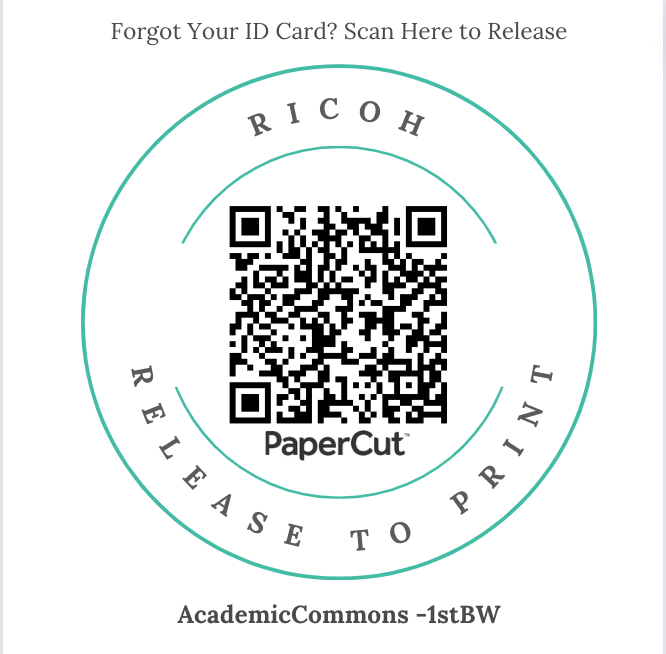
The printer(s) you'll receive with Papercut are those associated with your department or work area. Sometimes you might use another printer regularly or be on the go around campus. To print to a different printer you can "Release to Print." Go to Release-Ricoh or Release-HP and then when you arrive at the desired printer, use the QR code to release your print job. The code will look something like this example:
